Want to Straighten Your Curly Hair: Here is a Quick 5-step Guide!

Are you bored with your usual hairstyle while your friends with straight hair come up with a new hairdo for every occasion? Don’t worry! You too can experiment with different hairstyles without losing the bounce of your natural curls. Given below is a step-by-step guide to straightening your hair temporarily.
1. Rinse and Condition Your Hair
The first and the most important step to straightening your hair is to rinse it thoroughly. This is to ensure that there is no residue or buildup in the hair. Always make sure that the water you are using for hair wash is not too hot.
Too hot water can damage your cuticles and deprive your hair of the natural oil and moisture, making them frizzy. After washing, apply a generous amount of conditioner to your hair to lock in moisture. After applying conditioner, detangle the hair using a wide teeth comb. In the end, rinse the hair with cold water. Coldwater adds lustre to the hair and flattens it out.
2. Detangle Your Curls
After washing the hair, the next step is to detangle your curls to make the straightening process easy. For detangling, you should always use your fingers first. With the help of your fingers, gently break through the curls and run your fingers straight down.
Once the curls become manageable, switch to a comb. Always use a wide-teeth comb and avoid hairbrushes as they can snag your hair. If your curls are too tangled, spray a detangler through your hair and then comb it.
3. Prepare the Hair for straightening
One of the most crucial hair straightening tips is to prep your curls for straightening. Since curly hairs are more prone to breaking, it is very important to prepare it for the heat of the straightening process. Always spray heat-protectant on your hair before.
Coat each strand carefully to ensure more effectiveness. You can also use a serum or gel. Avoid hair products that contain silicone as it can weigh your hair down. You can opt for hair sprays that contain Argan oil as they are good for the hair.
4. Blow Dry the Hair
After you have applied the safety coating, start blow-drying your hair with a round brush. For blow-drying, section your hair so that you can focus on each part carefully. While blow-drying, brush down the hair slowly.
To avoid any disturbance, clip the rest of the hair separately as you blow-dry one section. A pro tip is to always use your blow dryer at a low heat to reduce the ramification on your hair. Point the dryer towards the brush and keep it six inches away from your brush. Do this until your hair is completely dry.
5. Begin Straightening
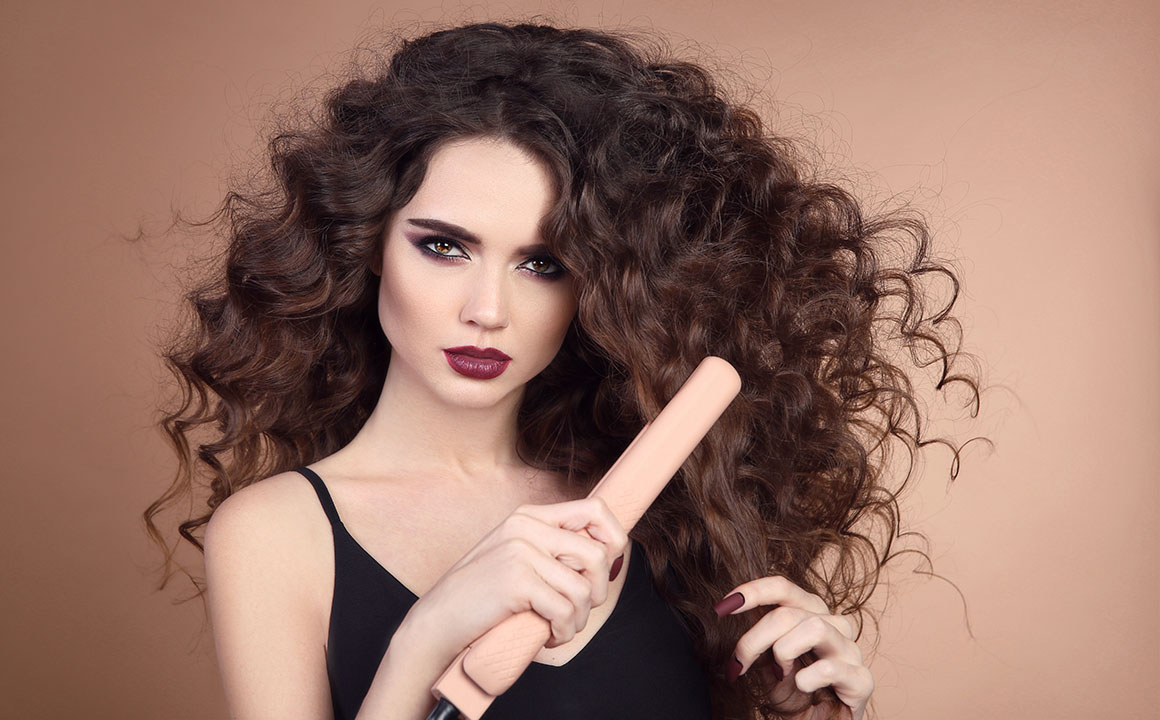
After the hair is completely dry, start straightening your hair with the bottom-most layer of the hair. Take a small section of the hair and pull it through your straightener from the roots. When one section of the hair is straightened, unpin another section and repeat the process.
You should ideally use a gold or titanium plate straightener for your curly hair. A flat iron with a long plate is a plus for making the process quick. Since the end of the hair strand is very brittle and prone to breakage, you can leave the end of each section of the hair and straighten all of it together.
Get Set Go!
Now that you already know the procedure, what are you waiting for? Start straightening your hair already. However, for the best result, we recommend that you invest in a good quality straightener.
Share via:


Leave a Comment