85 Silver Hair Color Ideas and Tips for Dyeing and Maintaining Your Grey Hair
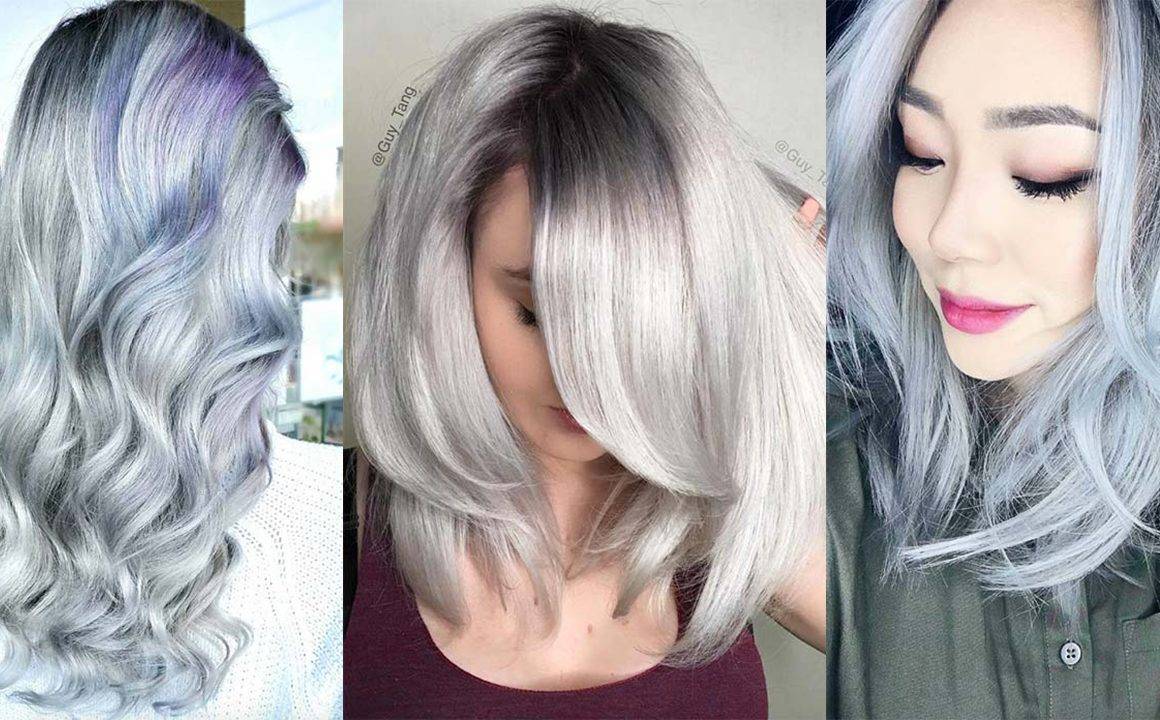
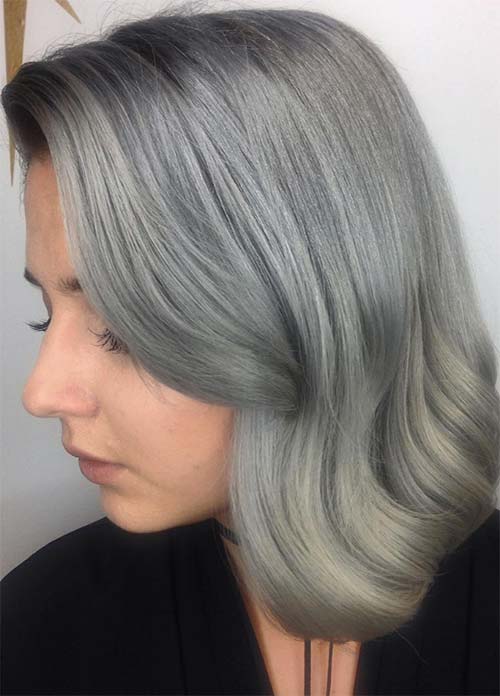
Silver hair is more than on trend right now. Grey hair is no longer considered ‘granny hair’ though the style has been affectionately called that. Of all the hair colors on the spectrum, silver hair is usually the most ignored, as we all will one day face it. When it happened naturally, the gray hair was quickly dyed a different shade, which is odd considering that silver and white hair could easily be considered natural hair colors.
Variations of silver hair colors that are becoming more and more popular are incorporating ombre trends, with dark roots leading to long spans of gray hair and ending in colors ranging from stark snow white to some of the most vibrant shades of primary colors known to man. With the onset of the popularity for silver hair, the enchantment surrounding the style has not faded, but grown.
Silver hairstyles range from angelic to romantic and ethereal to rebelliously edgy. Incorporating tweaks to enhance silver hair guarantees that grey hair will be a great style option for some time to come. It is beautiful in very texture, ranging in appearance from strands of platinum to fluffy storm clouds. Anyone at any age can rock gray hair, and beautifully arrange it in a plethora of styles.
In this article, we’ll talk about everything about the silver/ gray hair trend, including tips on dyeing your hair silver, ways of maintaining the ideal color, as well as presenting 85 amazing silver/ gray hair colors to inspire you.
How to Dye Your Hair Silver/ Gray
Prepping to Color Your Hair Gray
Dyeing your hair grey or silver is an intense process that involves bleaching, so you can expect some damage. The most ideal way to deal with this is to be prepared. Here are a few tips!
• If your hair is already colored, stop coloring it for as long as you can before dyeing your hair silver gray. There are several reasons for this from getting an even result in your coloring to preventing doing too much damage to your ends.
• Add in moisturizing and protein treatments as necessary to help with existing damage and provide more uniform hair. If you have dry hair that is prone to tangles, moisturizing treatments can help prevent some of that.
Moisturized hair slides rather than catches making it easier to detangle and causing less breakage and damage. Protein treatments should be used sparingly, they do help repair damage, but too much protein or your hair is bad- very bad. Used in moderation as you prep for this color process you can achieve mythically shimmering silver hair.
• Get a dusting or a trim to take care of split ends before they become worse and cause more damage.
• Choose the right shade and tone of gray hair. The standard most people go by is whether your skin tone is warm or cool, but intent is key as well.
Gray hair can very easily create a washed out look on someone very fair skinned if the shade is too light. To find out if you are warm or cool toned just check the veins you can see through your skin. The easiest place to spot this is the wrists.
If your veins appear to be green or yellow, then congratulations! You are warm toned and your best bet is darker shades of silver hair.
If your veins appear to be either blue or purple, then congratulations! You are cool toned and your best is to go with lighter shades of grey.
• Do a test run! If you want to test it out, try a few wigs! Don’t want to buy a wig? Look into hair shadowing, which is temporarily coloring your hair with eye shadow. Wash out when you’re ready with no problem.
There are even shiver hair sprays and hair chalks you can try. Taking a look for a test run can help acclimate you to the drastic change gray hair can have on your makeup and fashion.
The Dyeing Process
Professional Silver/ Grey Hair Dyeing Process
When going intentionally grey, the best thing you can do is have the help of a talented professional. There are several steps to dyeing hair gray and getting the perfect shade and tone is everything.
Number one: Go in for a consultation! Your stylist can give you an idea of the length of time it will take and an estimate on the total cost. You can better prepare yourself this way both time wise and financially.
Step 1: Bleaching
If you are going from dark brown or black hair to silver grey hair, you will likely need more than one bleaching process and most stylists charge per process. This can be uncomfortable for most people, so be prepared for a bit of discomfort. Grey hair is achieved by dyeing light blonde hair grey, so the light blonde has to be achieved first.
Step 2: Toner
The stylist will next apply a purple toner to your hair. This is important (obviously, or else they wouldn’t do it right?) because the purple toner will remove any yellow undertones left by the bleach giving you the ideal silvery white base for the grey dye to be added to.
Purple is the direct opposite color of yellow on a color wheel, so it counteracts it. The toner will usually have to sit for a bit before being washed out but should not be uncomfortable.
Step 3: Coloring
Here is the fun part. You can start visualizing all the fun things you will be doing with your hair, planning on stepping out into the spotlight with the wind blowing your tresses, in the outfit you secretly bought to reveal your new hairdo, the works. Why? Because you’re nearly finished!
At this point your stylist will apply the color, which looks purple. Once it’s applied, the color usually has to sit for approximately 30 minutes, and then it is washed out.
Step 4: Blow Dry and Style
We’re all familiar with this part of the process, even if we have never colored our hair. By this point the excitement should be palpable. If you are at a salon that also offers makeup services, consult with the makeup artist.
A new hair color can mean new makeup ideas if you are open to them, and honestly why not? You did just change your hair color to grey right? Maximize the impact and try a new look all the way around.
DIY Silver Hair Dyeing Process
• Quick notes: Plan your process out, do a strand test and have help on hand if you can.
• If you prefer to do two kits to make it easier, go for it, but keep in mind that you have to be very careful afterwards to condition and moisturize your hair properly.
• A 2-kit example would be picking up a kit to make your hair platinum blonde, as it will include the bleach and toner. Then the second kit would be the dye kit for grey hair.
Step 1: Protection
To protect your skin apply Vaseline or for those from the natural hair community use your preference of hair oil to protect the entirety of your hairline, being certain to include the nape of your neck.
Step 2: Prep
Separate your hair into quarters. Put each section into small buns. If you have extremely thick hair, 6 sections may be needed.
Once your hair is sectioned off and bunned up, slap on the protective gloves. Latex is the typical choice but if you have a latex allergy, grab a latex-free pair, of course, so that you don’t have matching gray hands.
Make certain you have your towels on hand; it is a good idea to spread a sheet on the floor of your work area as well to avoid stains.
Using an applicator bottle or brush is also great to have on hand, but the choice for which to use is typically a matter of preference.
Do not mix your bleach or color too far in advance; do them right before application.
Step 3: Lightening Your Hair
Follow the instruction on your bleaching product. When shopping for this, ask questions, even if you have to do so online to find a brand you are comfortable with that will work on your hair type.
Follow the directions carefully and realize that you may have to bleach more than once. Work clockwise, unbunning the section you are putting the product in, then bunning it lightly back up to work on the next section until all the sections are done.
Keep an eye on the clock and wash out well once the time is up, making sure to pay attention to all sections of the hair, taking them down, washing them and adding the other sections until all of your sections are out and all the bleach is washed out of your hair.
Observe your new color and do not worry if there is a bit of a yellow tint. If the color is still not light enough, you will have to bleach again and in all honesty, it is best to do this in stages with periods of rest in between when you are doing it alone. This way you can do the least amount of damage to your hair, allowing it to strengthen with treatments between lightening.
Step 4: Tone
For this you will need a purple toner to neutralize the yellow color and prep for the addition of the gray hair color. Apply evenly (sectioning in advance always helps with even application!) and let it sit for the recommended amount of time then wash out.
After this you should have silvery white hair and it is time to apply the grey. Section your hair again and start mixing your color
Step 5: Color!
Apply your gray hair color evenly to each section, starting at the roots and going to the tips. Once you have evenly applied the color all over your hair, let it sit for the recommended amount of time designated on your kit.
Wash out all at once, do not forget to condition and if you can handle it, seal with a cold-water rinse to close the hair cuticle back up.
Step 6: Dry and Style
Be very careful with your hair at this point, but make certain to really admire the difference the color makes.
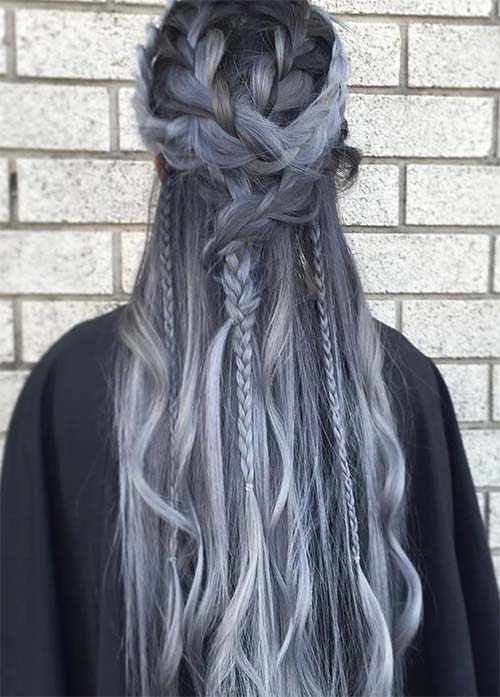
@loveisinthehair_byjanet
Maintaining Gray or Silver Hair
These are the common issues you can expect when having gray/ silver hair color:
• Bleaching dries the hair out. Be prepared to moisturize your hair more often and be more careful with it.
• Gray hair can fade quickly; you can combat this using a color-depositing product to keep your color true. This will hold you over between visits at the salon.
• Use a color-safe, sulfate-free shampoo and conditioner and be prepared to use more conditioner than you are used to. The best usually is a rich blue or purple color and is designed for silver or gray hair. Chromasilk and Pravana are great brands for maintaining your gray hair color and even touching up at home if you choose.
• For those of us with naturally darker hair it may not occur to us that you can end up staining your hair. Makeup is one of the most likely ways to stain your hair accidentally, just try not to let it sit. When you notice it, take care of it.
• As your hair grows out, you can do touchups or you can love the darker roots, whatever you are comfortable with!
Makeup for Grey Hair
What look are you going for? Mermaid? Fairy? Ghostly? Just gorgeous? Experiment! Gray hair allows for a lot of options, but be careful as certain shimmers and lighter colors can make you appear washed out with the addition of the gray hair.
Conversely while many can pull off the dark desirable look with a bold eye and a deeply colored lip, keeping it synchronized is best to keep it from being overwhelming.
When choosing the best eyebrow fillers for you, stick to cool, light tone that will look in sync with your new gray hair color. You can dramatize your look with the help of black eyeliner, while the rest of the makeup is advised to be kept naturally soft. Universally flattering peach blush tones, nude/ pink lipstick colors and soft eyeshadow hues will all flatter your new silver hair color.
85 Mesmerizing Silver/ Gray Hair Color Ideas
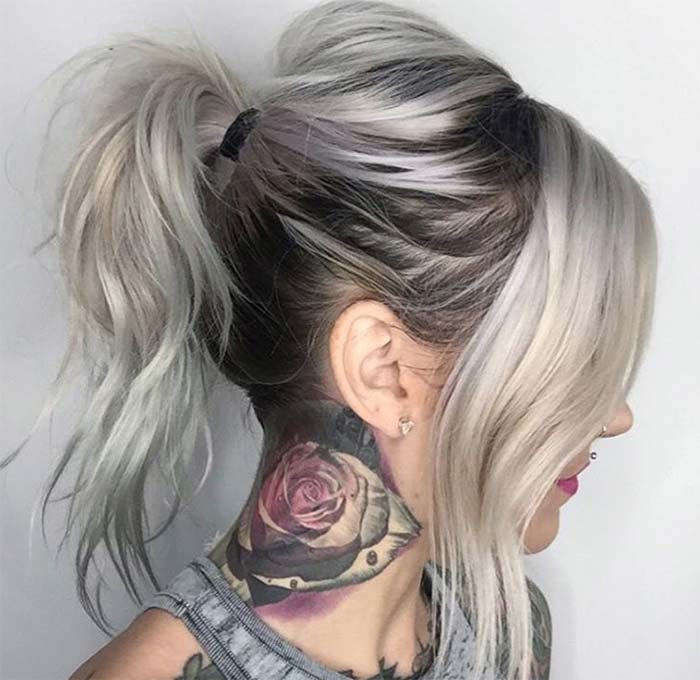
1. Messy Silver Ponytail With Gown-Out Roots
A messy ponytail takes on new dimensions with grey hair. Silver hair catches and plays with the light differently than other colors and a messy ponytail can be a quick hairstyle that leaves a lasting impression nearly effortlessly, especially with dark roots involved.
Share via:





Thanks.I have been tense about my hair dye for a month. but thanks this site solve my problem, I really appreciate you.