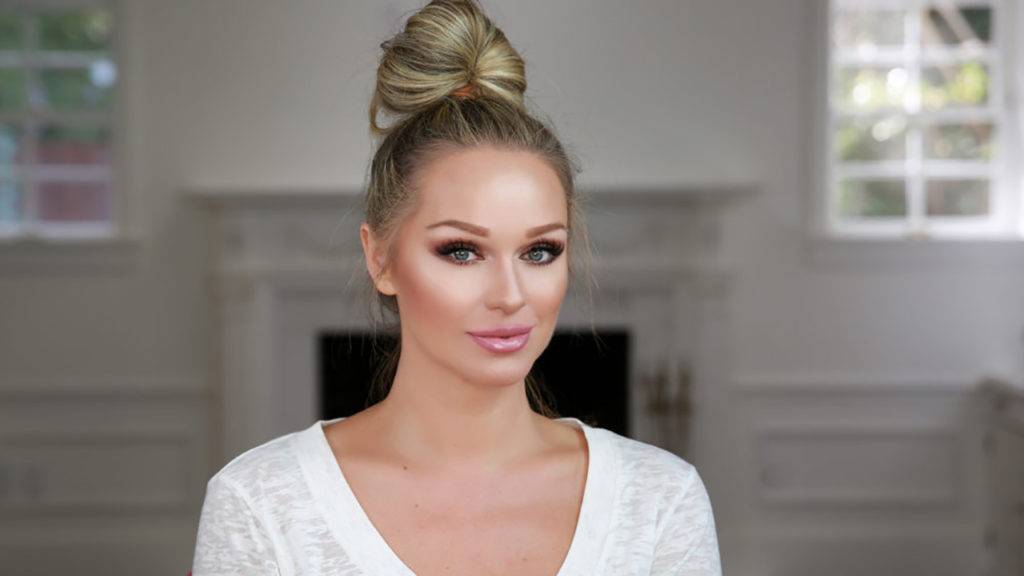
Get This Natural Glam Makeup Look for Yourself!
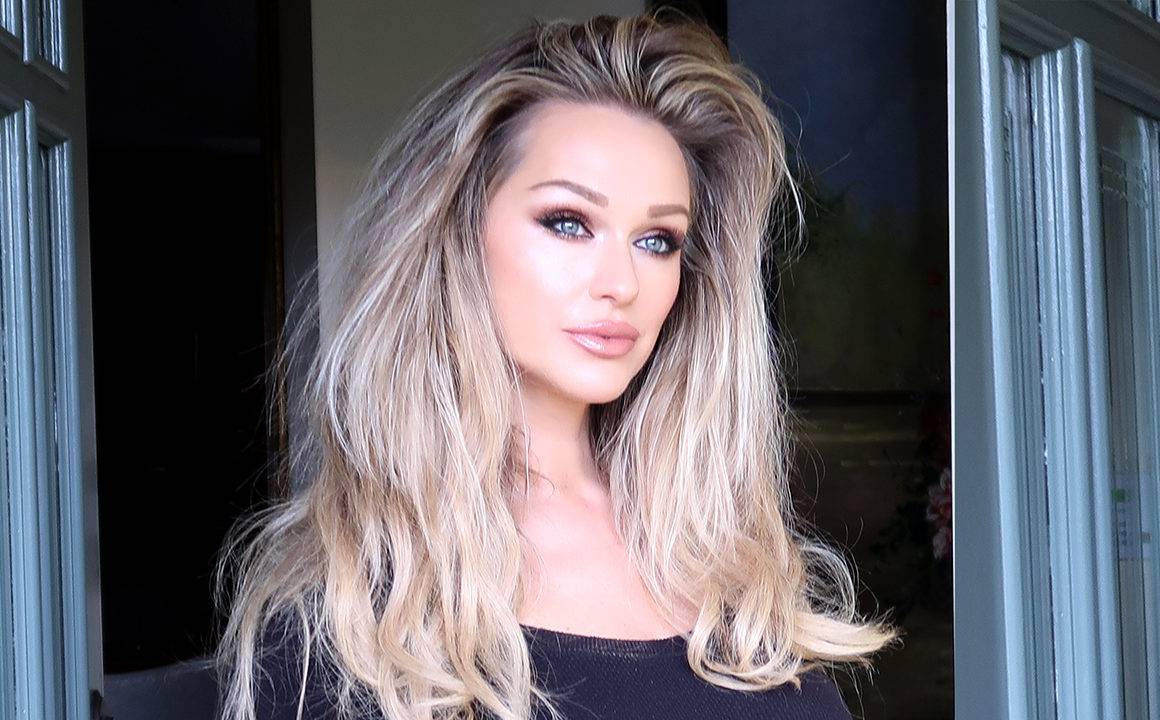
Natural glam is a great look to have, as it can make you look younger and glamorous without the need for heavy makeup. This natural glam makeup look has been requested by a couple of ladies on our YouTube Channel. It’s a look inspired by a photo that I took a few years ago. Watch the difference between the original photo in the video and my recreation of it today. If there is a look you’d like for me to do, don’t hesitate to leave me a comment below this article. Stay beautiful!
Step 1: Apply Foundation
Apply foundation to the face and neck. For this look, I used the Wander Beauty Nude Illusion Liquid Foundation in Light Medium. This shade is perfect for me because I have a lot of redness, and the yellow color in the foundation counteracts the red. This foundation is great because it doesn’t look caked on, but it still provides good coverage.
Step 2: Apply Concealer
Next, I used the Wander Beauty Dualist Matte Concealer Stick in Light in the insides of my eyes. Then, I used the liquid side of the same Dualist concealer for the rest of my face.
Step 3: Contour
I used the Iconic London Contouring Palette to add definition. I used it to shade my cheekbones, the sides and tip of my nose, under my lower lip, and under my chin. This is a good palette because it’s cream, so it’s easy to blend into any foundation.
Step 4: Apply Blush
Next, I used the Wander Beauty On the Glow Blush and Illuminator in Petal Pink. This stick is great because one side is blush and the other is a highlighter. I used the blush side to apply a bit of blush to both cheeks. Next, I took a bigger-sized brush and worked it in. I like the pink cheek color as it brings out your eyes and eye makeup.
Step 5: Highlight
I used the highlighter from the same stick and applied it on the top of my cheeks.
Step 6: Apply Powder
I usually apply two powders, and that’s what I did for this look. First, I used Makeup Forever Translucent Powder under my eyes. Next, I used Cover FX Translucent Light Powder to powder the rest of my T-zone.
Step 7: Eyebrows
Next, I drew on my eyebrows with Milano Brow Fix #2. I used the brown/medium color in the palette. If you’d like to see more about how I do my eyebrows, click here!
Step 8: Apply Eyeshadow
For the eyeshadow, I started with Mia del Mar’s Novelera palette. I began with the color ¡Càllate! on the eyelid. I applied it with my finger so I had more control. Next, I used the color Chismosa in the crease and blended it out from the crease. I applied the same color under my eyes on the lower lids. Finally, I took the same color and filled in the the outer crease a bit more in the corner to make a “V” shape.
Step 9: Apply Eyeliner
Next, I took Charlotte Tilbury’s Eyeliner in Bedroom Black and only applied it to the top and bottom of the waterline. Once the waterline was fully covered, I began halfway down the eyelid to apply the liner. I pulled the liner out and connected the bottom a bit, making a cat eye.
Step 10: Apply Mascara Primer
I applied a coat of Smashbox’s Photo Finish Lash Primer.
Step 11: Apply 2 Coats of Mascara
Apply two coats of mascara using Charlotte Tilbury’s Legendary Lashes. In between the two coats (while the first is drying) I applied Kevyn Aucoin’s Sculpting Powder to define my cheeks a bit more.
Step 12: Apply KAT Lash
To complete the eyes, I applied KAT Lash in the style “Majesty”. Cut the lashes to fit your eyes better, but be sure to save the cut ends! See my video on how to use them instead of throwing them away. Wait for the glue to dry and be tacky before applying the lashes. Then, after applied, do one more coat of mascara to blend your lashes in with the false lashes.
Step 13: Highlight the Brow Bone
Use the same Milano Brow Palette from before to highlight the brow bone. You can also tab a bit of highlight in the inner corner of your eye.
Step 14: Apply Liquid Lipstick
Next, I used Glamour Garden Liquid Lipstick in the color “Fashioniser”. In order to keep it light, I applied a bit first just by tapping the color on the lips with the wand. Next, I rubbed it in with my finger. Finally, I defined my lips using the special tip on the liquid lipstick.
Step 15: Line Your Lips
To match the look in the photo that I was going for, I lined my lip with Charlotte Tilbury’s Lip Cheat in the color Iconic Nude.
Step 16: Apply Lip Gloss
Finally, to finish the look and match the photo I was going for, I completed the look using Anastasia Lip Gloss in the color Pearl.
And there you have it! Be sure to tag me in your natural glam makeup photos on Instagram!
YOU MIGHT ALSO LIKE:
Smokey Eye Look that Even Men Love

Leave a Comment