Flatlay Photography of Products: An Educational Guide
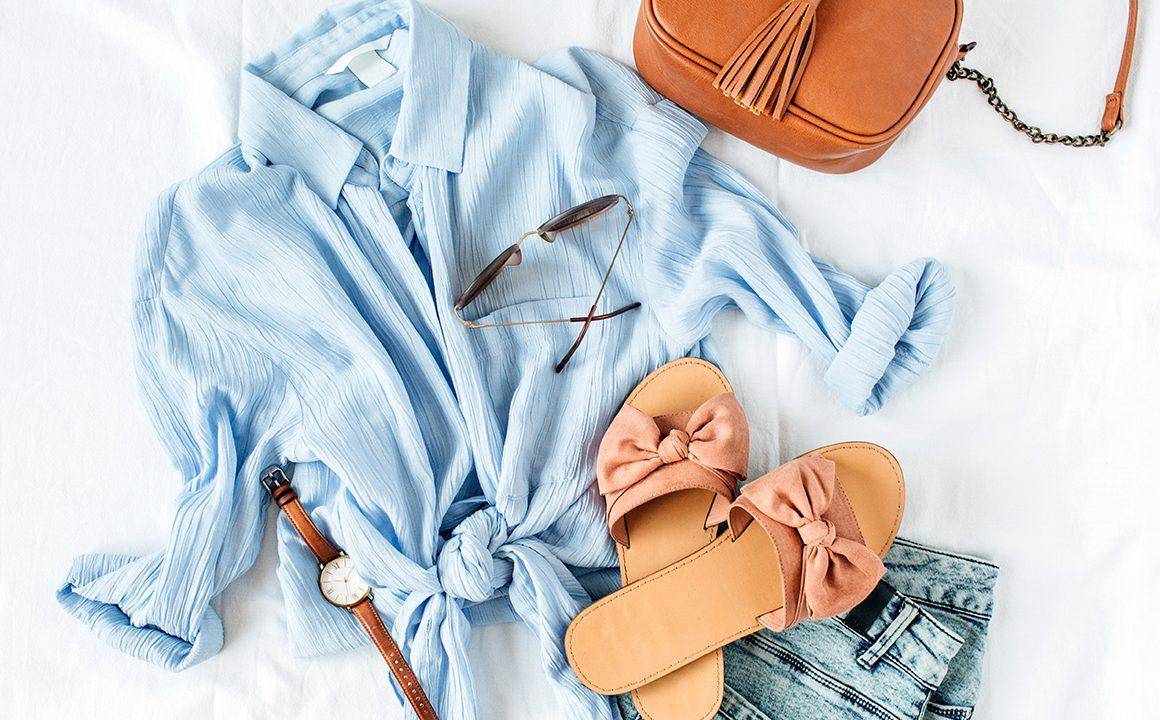
Flatlay photography, also known simply as “flatlay,” has taken social media, particularly platforms like Instagram and Pinterest, by storm. It is a unique way of capturing products, food, fashion items, and any other imaginable subject from a top-down perspective, creating a flat, two-dimensional look. In this article, we’ll explore the fundamentals of flatlay photography for products, offering tips to achieve the perfect shot.
1. Understanding Flatlay Photography
Flatlay is essentially a bird’s-eye view photo, where items are laid out on a flat surface and photographed from directly above. It’s an excellent way to showcase products in a clean, organized, and aesthetically pleasing manner.
2. Choosing the Right Background
The background sets the tone for your flatlay.
- Neutral Backgrounds: White, beige, or light gray backgrounds can make products pop. Materials such as marble or wooden boards add texture while keeping the color scheme neutral.
- Colored Backgrounds: For a more playful or themed look, consider using colored or patterned backgrounds. However, ensure they don’t overshadow the product.
3. Arranging Your Products
- Central Focus: Place the primary product in the center and arrange secondary items around it.
- Grid Style: Organize items in a grid pattern for a structured look.
- Organic Arrangement: For a more casual feel, place products sporadically.
Always ensure there’s some space between items to prevent the shot from feeling cluttered.
4. Lighting Matters
Natural light is the best for flatlay photography.
- Position: Set up your flatlay near a window to utilize indirect sunlight.
- Diffuse Light: If the light is too harsh, use a white curtain or a diffuser to soften it.
- Artificial Light: If natural light isn’t available, invest in a good quality softbox or ring light.
5. Props and Themes
Props can elevate a product flatlay by giving it context and narrative.
- Consistency: Make sure props resonate with the product’s theme or the story you’re trying to tell.
- Scale: Ensure props do not overshadow the main product.
6. Shooting the Flatlay
- Stability: Use a tripod to ensure your camera or phone is stable.
- Camera Angle: Ensure the camera is parallel to the product, capturing a true top-down shot.
- Focus: Ensure the main product remains in sharp focus.
7. Post-processing
Post-processing allows you to enhance the image.
- Editing Tools: Apps like Lightroom, VSCO, or even Instagram’s in-built editor can be used.
- Brightness and Contrast: Adjust these to make your image pop.
- Saturation: Ensure colors remain true to the product.
Conclusion
Flat lay photography offers a unique and compelling way to showcase products. By considering the background, arrangement, lighting, and post-processing, one can craft images that not only highlight a product’s features but also tell a story. As with all forms of photography, practice makes perfect, so don’t be afraid to experiment and refine your flatlay technique over time.
Share via:


Leave a Comment